- Specializing in Automotive Tint Mon-Fri 9am-5pm | Sat 10am-3pm
- (703) 440-0084
- paul@skylinetint.com

Guide to Protecting Your Car During Winter
November 20, 2023
Tricks to Keep Your Car Paint Looking Good for Years
December 24, 2023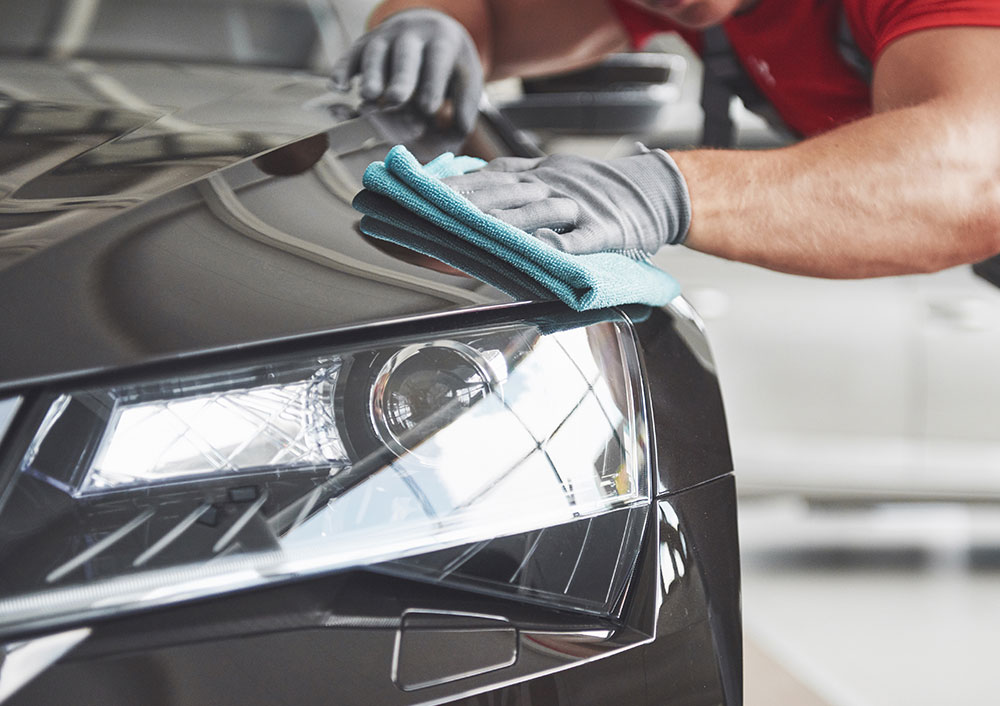
If you’ve ever seen what happens when the tint isn’t properly maintained, you know it’s not a beautiful image. The cracked or peeling coating of film on the inside of the windows looks awful — and makes a horrible noise when you roll down the windows.
There’s no going back once the hue starts to fade. You must visit an auto tint shop for the afflicted area to be retinted or wholly removed.
One way to take good care of your tinted windows and avoid any bubbling or peeling is by adequately cleaning the windows. How do you do it? Here is a guide on how to go about it:
Collect the necessary supplies
Before cleaning the windows, ensure that you have the necessary gear. The things you need include:
Shade: Washing the car in a shady area rather than in the sunlight causes it to dry more slowly. That means your job will be easier, and fewer water spots will be available.
Microfiber towels: Avoid using paper or rough cotton. Instead, use microfiber towels that are soft and absorb a large amount of water. A good way to go about it is to prepare at least one towel for applying the wash solution and another for drying.
Ammonia-free soap: While the tinting professionals apply the window tint to the inside rather than the outside of the windows, ammonia-free soap is ideal for all vehicle portions. You can do the cleaning without worrying about causing any type of damage.
Clean the windows last.
You should always clean the rest of the car before going to the windows. This is because washing and rinsing the outer panels might leave suds on the glass.
When it comes time to cleaning the inside of the windows, be cautious about the cleaner you select because the residue from some interior cleaners can evaporate and end up on the tint. And you don’t want this, do you?
Undertake tint-friendly cleaning.
Using a microfiber cloth, clean the interior of the windows with an ammonia-free soap. After covering the entire window, dry it immediately unless tough filth requires a second pass. While at it, avoid the tint’s edges, where the cleaning agent can get underneath and generate bubbles.
If there are a few bubbles, you can use a heat gun to try to repair small areas. Use a credit card wrapped in a soft, thin cloth to force air to the borders of the windows.
Alternatively, if a bubble forms in the center of a window, you can use a small pin to release the air, but remember that this may result in a small hole.
The next step is to dry the windows. Cut a clean microfiber cloth in half to provide a smaller surface area for removing the cleaning agent.
Move the cloth in the same direction you applied the cleaning agent. A thin cleaner film is usually visible on the window, so use plenty of pressure to remove it all. If it dries, you’ll have to repeat the process.
Take good care of the windows.
Cleaning the tinted windows properly isn’t enough—you need to take good care of them to last for a long time.
One thing you should do is park in the shade or a garage to reduce the amount of direct sunlight hitting the windows.
You also should have the interior of your windows cleaned regularly. A good rule of thumb is to clean them every two weeks.
Tips when tinting your car windows
To have a great experience and ensure that your tinted windows last as long as possible, you must tint them properly.
To help you out, here are tips you should follow:
Tint the right windows
Except for the sunroof (if applicable) and the windshield, a primary tinting job should cover every window in the vehicle. This includes all side windows, including triangular windows, and the back window.
The average cost should include parts and labor to tint all these windows.
When having your windows tinted, ensure that you include a one-year warranty against bubbling, cracking, and peeling. It also doesn’t hurt to go for films with a lifetime warranty.
Have the window tinted by a professional
You can do it yourself when it comes to tinting your car windows. However, due to the talent necessary to accomplish it effectively, it is not recommended unless you are skilled.
Cutting and pasting plastic film on your vehicle’s windows may appear simple, but the operation is complex, and you need to be precise during the application.
Thankfully, DIY tint kits are available online and at auto parts stores for a small cost, but they need a lot of concentration and patience.
For peace of mind that your tint will last long and look good, have it installed by a professional who knows what they are doing.
Choose the correct type of tint.
You might think all tinting materials are identical, but this isn’t the case. There are many types of fabrics ideal for different applications.
The most common ones are:
Dyed tint: Dyed window tinting consists of multiple layers of dyed film that absorb sunlight. You can change the dye to achieve the desired level of blackness. This type of tint is the most cost-effective and widely used window tint. While it is favored by many, it does not offer the best UV protection, so be ultra-cautious when installing it.
Metalized: Metalized tints contain metal particles that reflect light to keep it out. This form of window tint also reinforces the windows, making them less prone to shatter in an accident.
The metal particles in the metalized layer make the windows appear more gleaming. This type of car window tinting Springfield has the disadvantage of interfering with GPS signals, so if you use your phone for calls, it might not be the best to install.
Other tinting options you can go with include carbon, ceramic, hybrid, and many others. You must research the ideal one that will look good and last long.
Before you do the installation, let the installation company know about your desires and how you use the car, and they will advise you on the suitable tinting material.