- Specializing in Automotive Tint Mon-Fri 9am-5pm | Sat 10am-3pm
- (703) 440-0084
- paul@skylinetint.com

All About Protecting Your Car from Harmful Effects of the Sun
September 8, 2023
Tricks to Protect Your Car from Mother Nature
October 10, 2023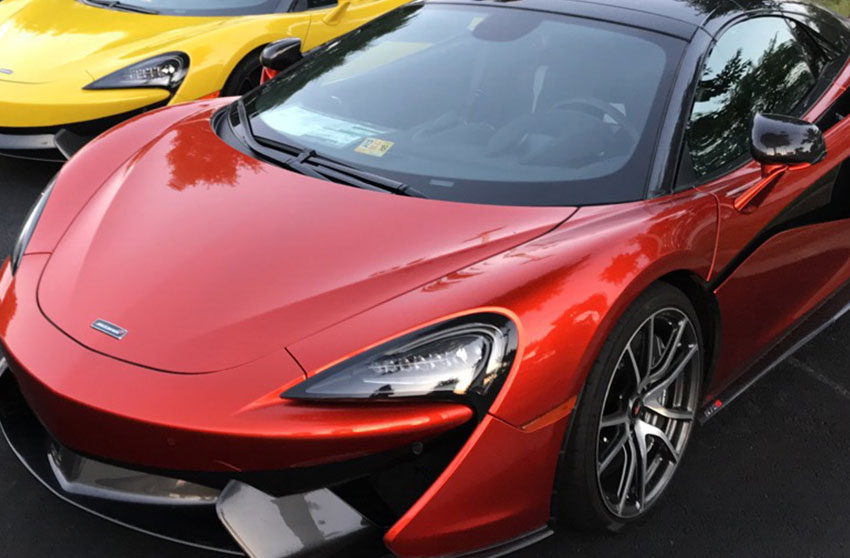
Window tinting is often the first modification that many car owners do. It’s one of those uncommon things everyone who owns a car will think about or require, and it’s not just for car fanatics. Tint does a few things, including making your car more private, keeping it cooler during hot summers, and even serving as a cosmetic update depending on your aesthetic preferences.
Understanding how to tint your windows beneficial and can save you money.
Many tint jobs entail darkening all windows except the windshield, and many car manufacturers provide a factory tint option for the rearmost windows.
Adding window tint on your own is simple, takes no more than two hours, and saves you a lot of money.
Is this the first time you are doing auto glass tinting? Here is how to do it:
Prepare the windows for tinting.
Look for a clean and dry location to work. Clear the glass of any stickers or other adhesives. Use an automotive window cleaner to thoroughly clean the windows, ensuring that you roll the window down slightly to clean around the edges.
Dry the window with a clean towel and wipe the window’s borders and seals to remove as much moisture as possible.
Roll the window up again and dry any remaining moisture. Then, apply the soapy water combination to the windows using a spray bottle.
Prepare the tint
Roll the tint with the protective backing over the moist window, leaving 2-3 inches of extra tint hanging around the corners. Spray the outside of the tint with water to create a thin layer across the entire surface, then cut around the bottom and left corners of the glass using your knife.
Cut as cleanly as possible and as near to the edge as possible. Move the tint around on the glass to ensure proper fit, then wipe up any rough edges or unusual shapes that have emerged during this process.
Apply the tint
Start by praying the insides of the glass with soapy water, then carefully remove the sliced tint from the outside of the glass without damaging it.
Peel the protective liner away from the tint to expose the adhesive, and spritz the adhesive with soapy water before putting it to the window.
After removing the protective liner, align the tint with the car window. You do this by tucking the film below the bottom seal, taking care not to move the tint.
Push bubbles out of the tint using your squeegee. You should squeege with soapy water ensuring that you leave no bubbles behind.
Throughout this process, you will be spraying water at various spots. Tinting windows will be considerably easier with a spray bottle filled with a pre-mixed soapy water solution. You can never have too much.
If you cut a sheet of tint too small, it’s quicker to remove excess material than it is to start over. Leave enough color to work with and clip away as necessary.
Do you reside in a location that is exceedingly windy and dusty? If at all possible, do the task inside. This will keep sand, dust, and debris from getting underneath the tint.
Check your local rules before adding tint to avoid wasted fines, time, or money.
Install the right window tint
There are many window tint options to choose from. They include:
Dye films are ideal for those who want to increase the aesthetics and privacy of their vehicle.
They are attractive but give less heat rejection than newer technologies and will not last as long.
Deep dye is the most recent dye technique, and it provides a color-stable (won’t fade or change color) assurance, unlike prior dye technologies, which fade or turn purple with time.
Carbon films are similar to dye films but provide the color stability that older dye methods lack.
The disadvantages include probable haziness due to the increased size of the carbon particles employed to build the film, which allows light to bounce about, diminishing its clarity.
Metalized films can be an excellent option for those looking to obtain good heat-rejecting films at a lesser cost.
On the other hand, metals are known to interfere with radio and cellphone transmissions. They also do not have the same longevity as ceramic films.
Ceramic films are comprised of non-conductive and non-metallic particles.
As a result, they are ideal for blocking heat while not interfering with radio or cellphone transmissions.
Nano-ceramic films with the smallest and most uniform particle size provide the highest heat rejection and clarity among all window film technologies.
Sunlight heat can be separated into UV, visible light, and infrared rejection. Older technologies rely mostly on UV and visible light rejection.
They provide good heat rejection at lower VLTs but not so much at higher VLTs since they rely on blocking visible light.
Unlike other technologies, ceramic films block a substantial percentage of infrared light, which accounts for almost half of the heat you experience from the sun.
Because infrared light is non-visible, blocking large amounts of it does not affect film VLT, allowing much more heat rejection at higher VLTs such as clear/light films, making a ceramic film the best option for privacy glass.
How to ensure that your film lasts for a long time
You need to do several things for your tint film to last for a long time. These things include:
- Avoid using chemicals that may degrade your tint, such as ammonia-based glass cleaners.
- To avoid scratching or other surface damage, use ammonia-free cleansers or merely water with a fresh and clean microfiber cloth.
- When parking your car for an extended time, seek a covered spot to limit sun exposure.
- Use higher-quality window tints with color-stable guarantees.
- Ensure that a reputable company installs your auto window tinting Springfield.